Here Comes a Bow Kid Plushie!
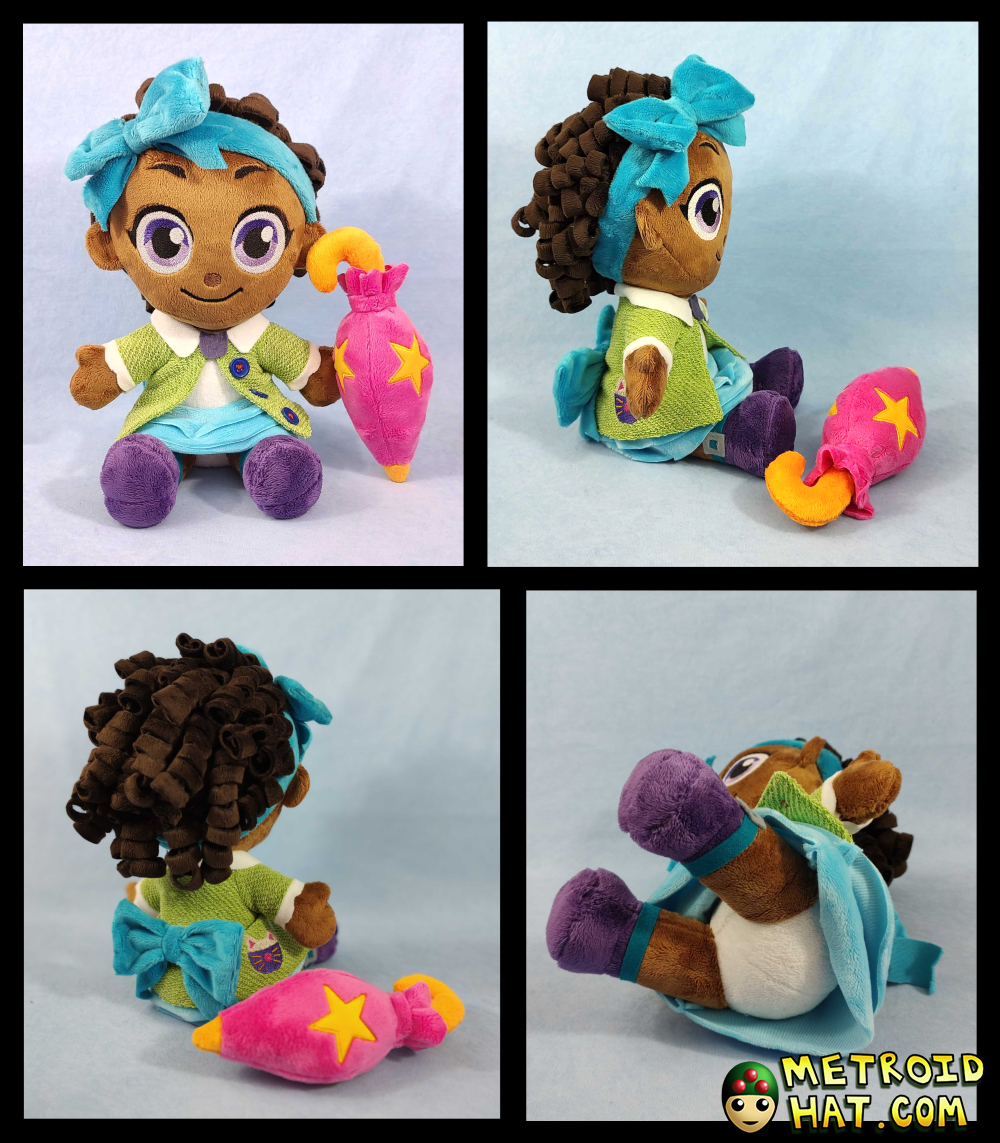
A Bow Kid plushie from A Hat in Time is now available from Fangamer! Designed by Nina Matsumoto and prototyped by me. If I may toot my own horn, I think there is a certain elegance about the construction of this plushie. That is, many of its elements are carefully considered and put together inside out, then unfurls with its parts perfectly in place. I often think about how plushies are similar to origami in that way. You work with a flat medium, gauging and precision folding, and in a final flourish, revealing an object of impressive geometry.
ANYWAYS.
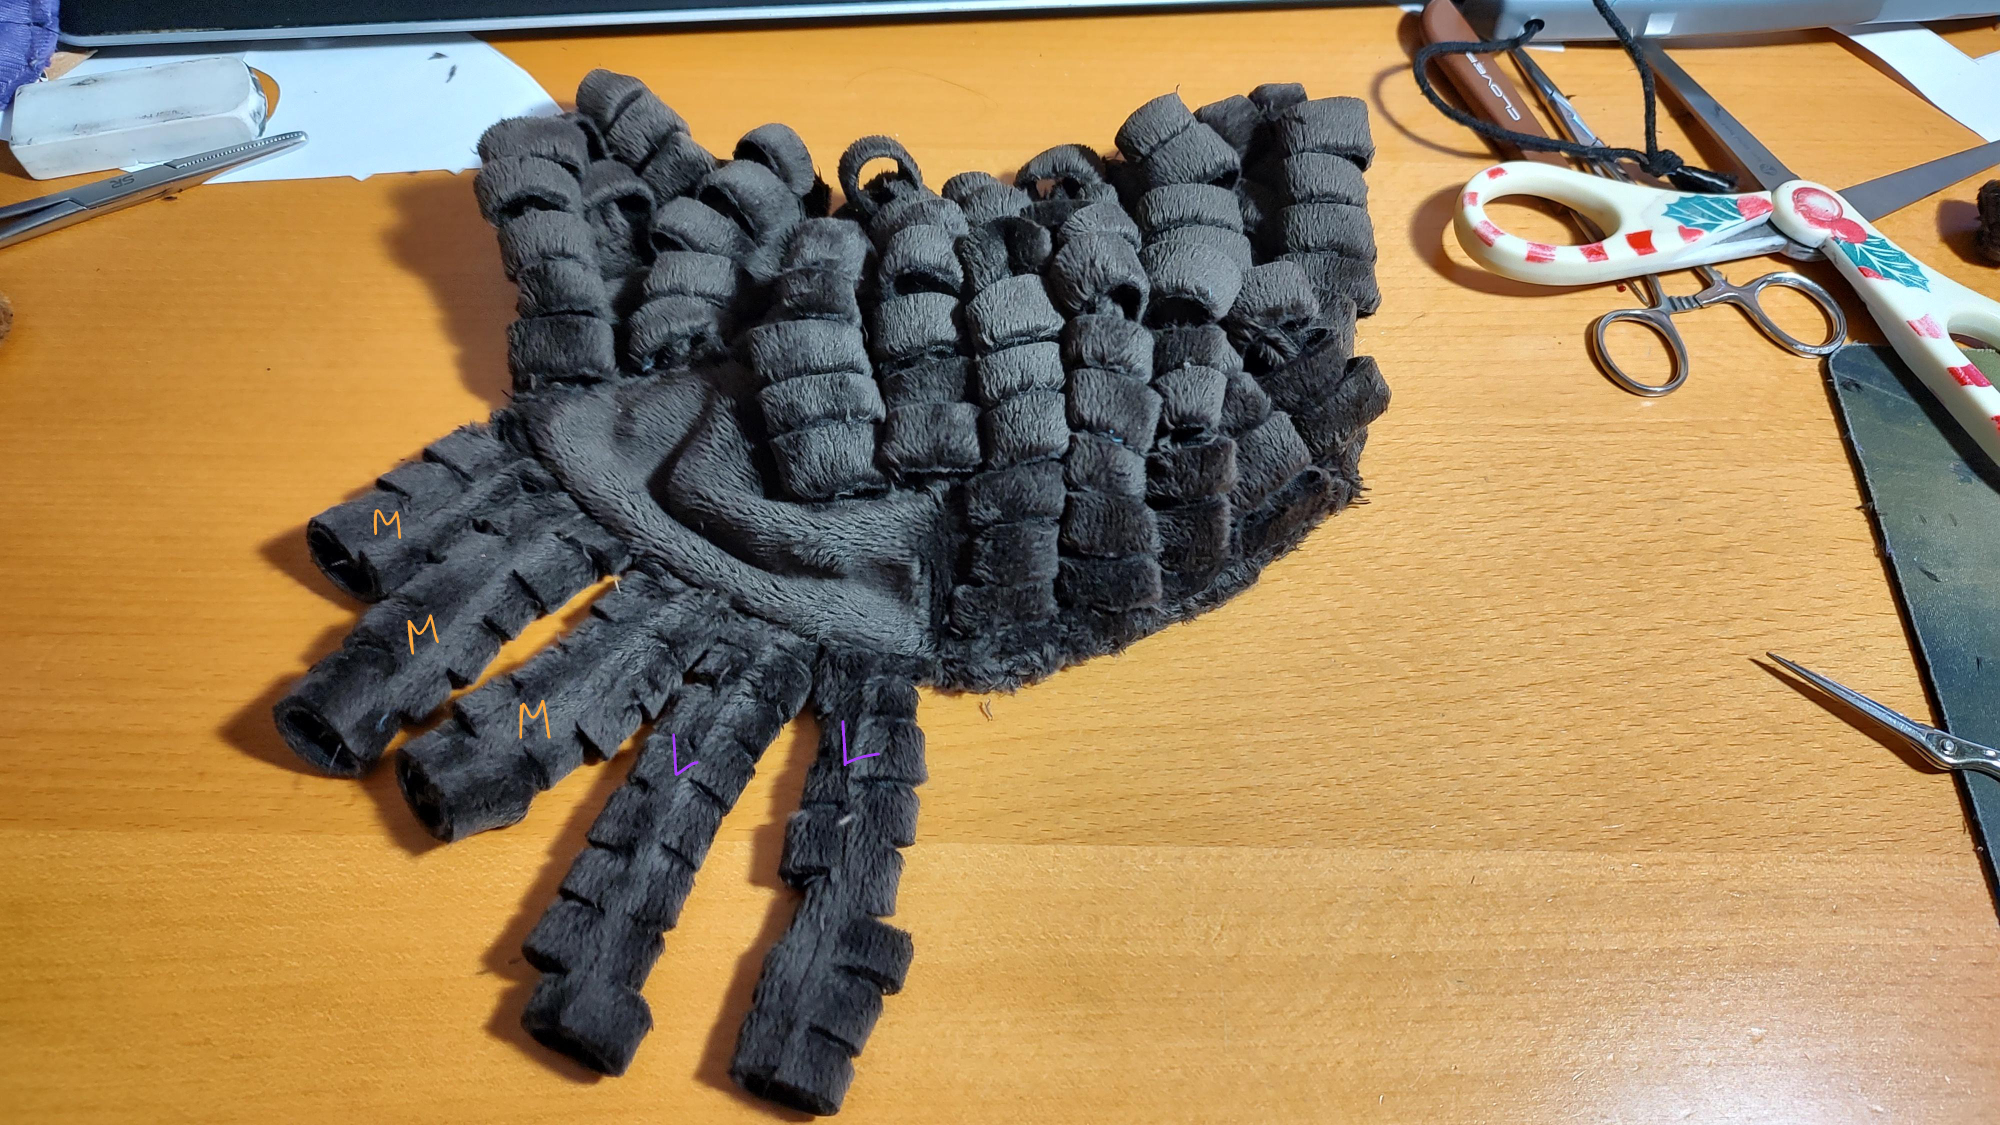
The most striking thing about Bow Kid as a plushie is her copious nest of curls. It took some experimentation to achieve something that looks good and isn't an absolute nightmare for the manufacturers. And in the end, the solution was deceptively simple. Each curl is a tube of minky fabric sliced most of the way through, except at the seam. And if you orient the seam towards the head when sewing on each curl, then they're not very visible at a glance. All you see is a head full of bouncy curls. The slices are also on a slight diagonal so the curls spiral a little bit and don't hang down like rings dangling off a laundry line.
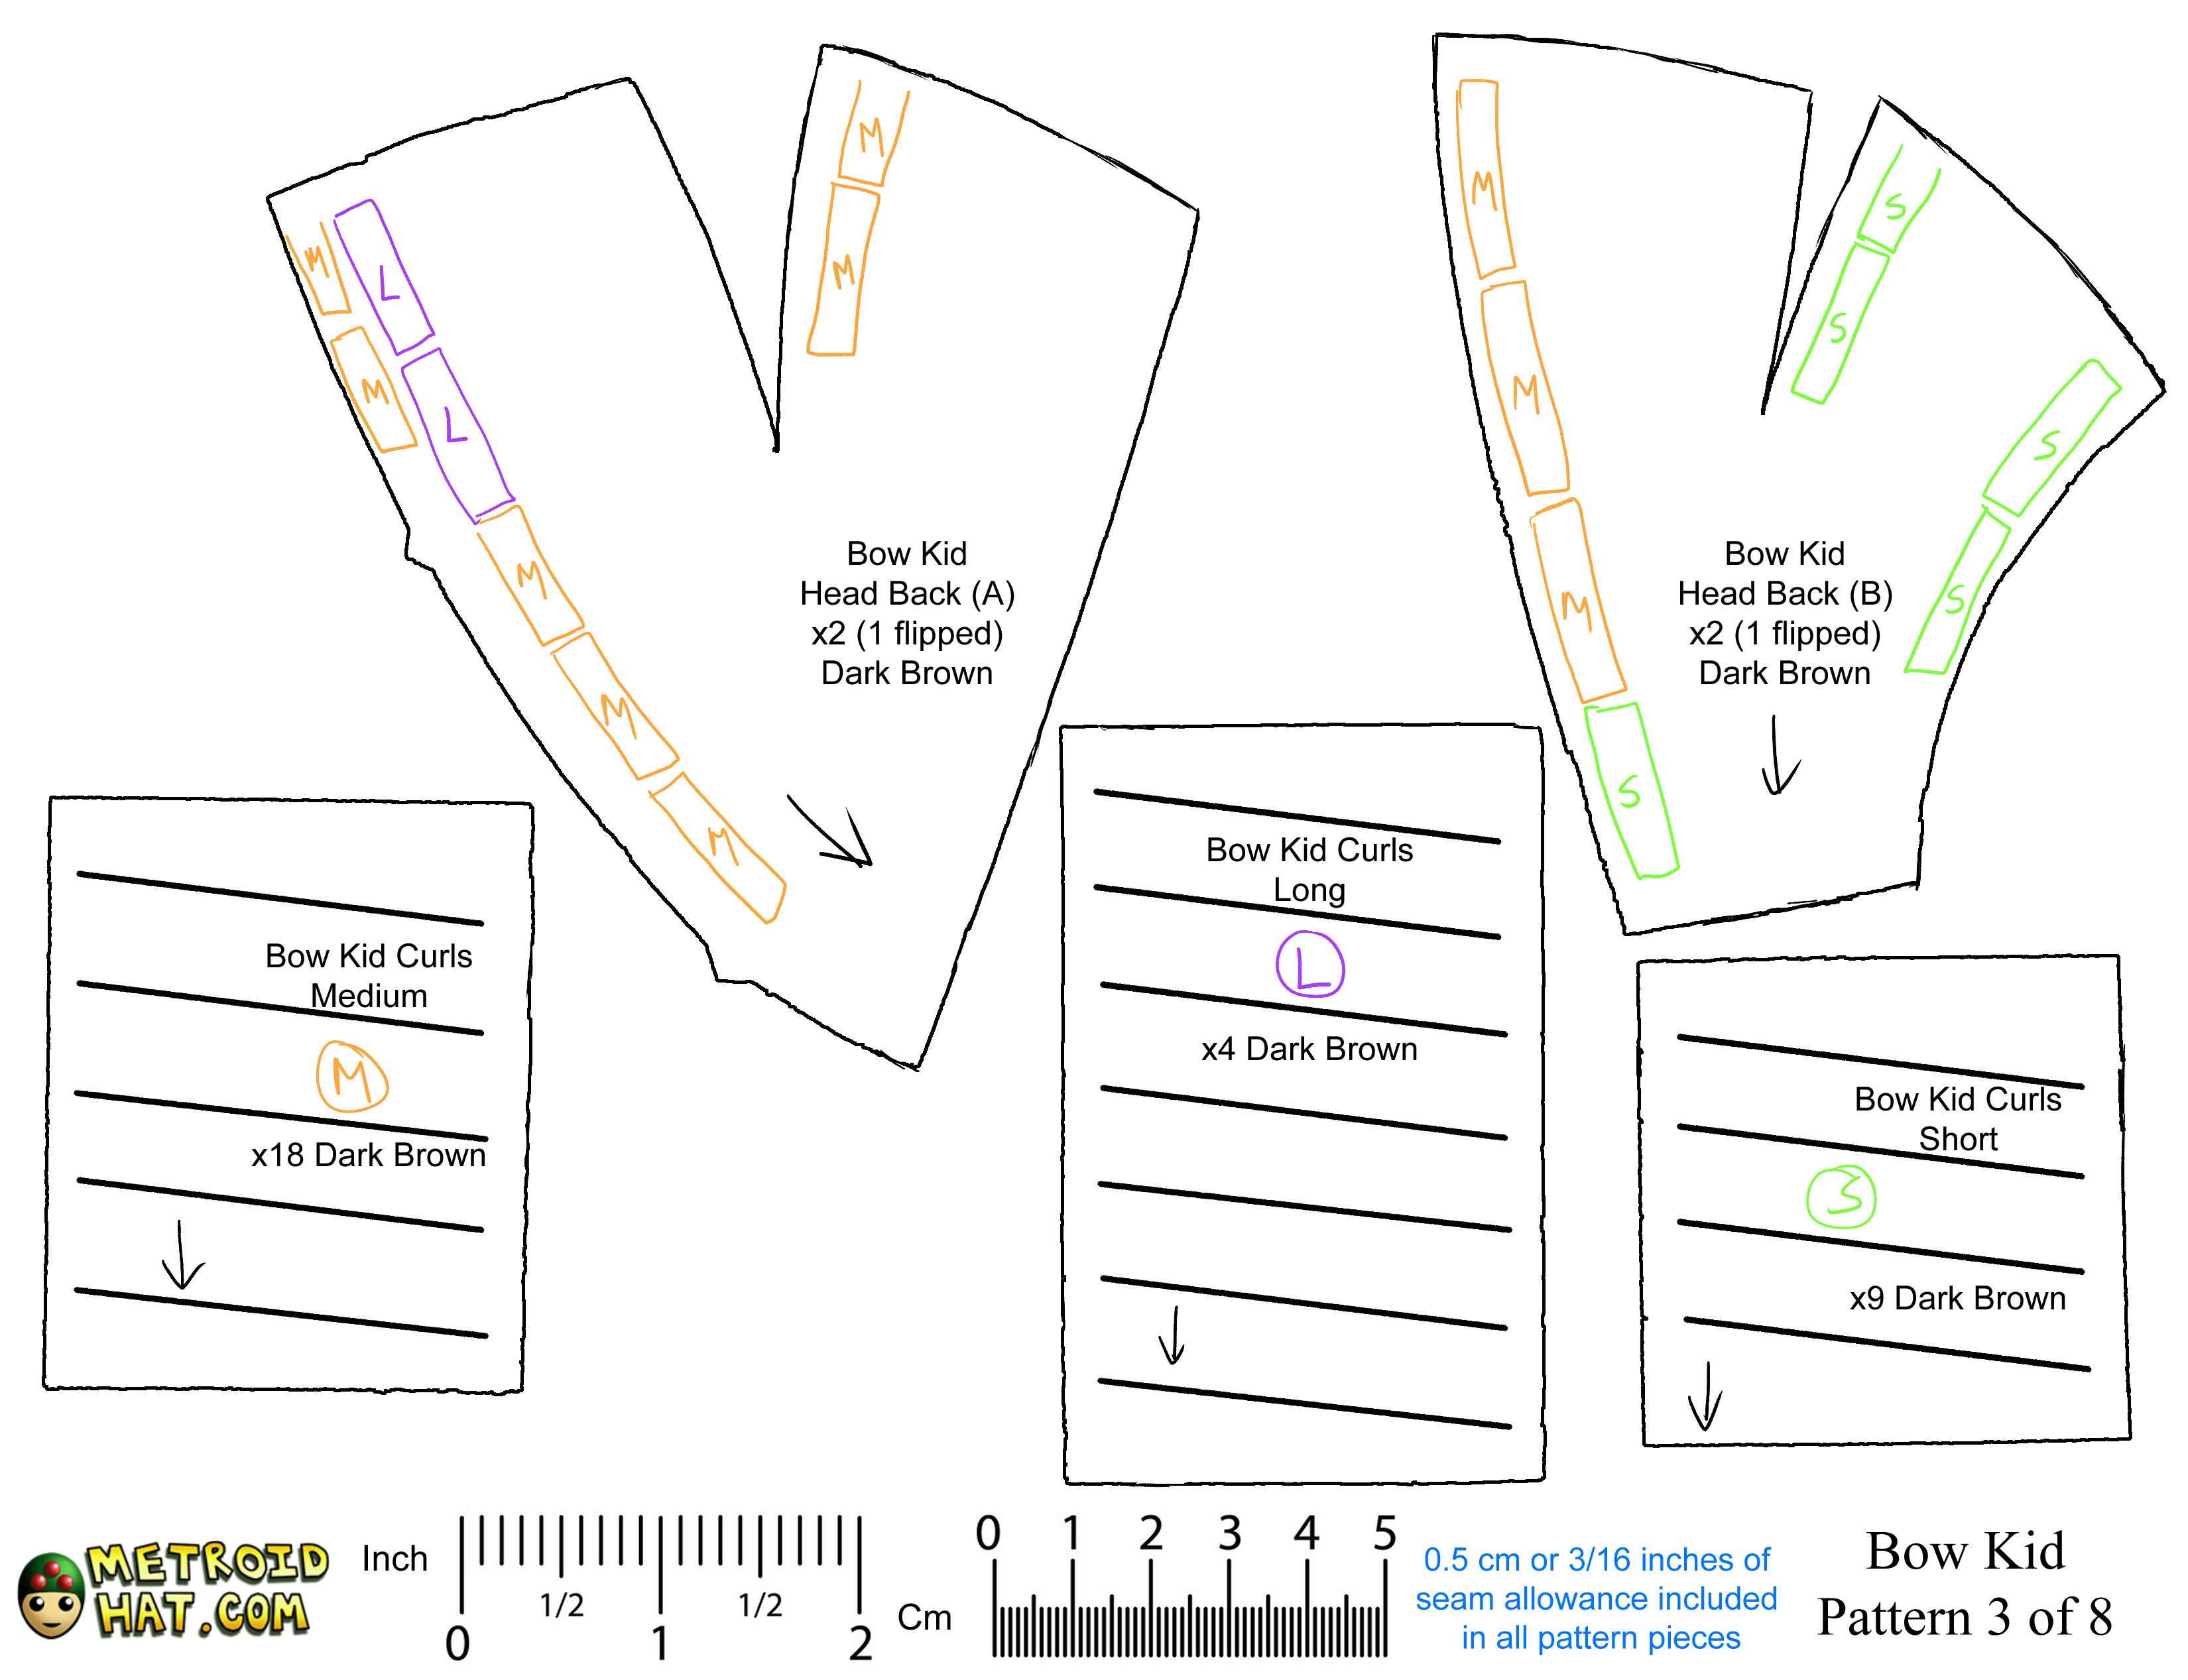
How each curl is sewn onto the head, and the head pattern itself, is also important. I manipulated the pattern of the back of the head such that most of the seams controlling the head shape is horizontal. Having a lot of horizonal seams provides me with areas to sew the hair into. As you can see from my colorful notes on the pattern, I was also particular about the length of each curl and their locations on the head. Straying too far from this 'roadmap' would result in errant curls that were too long or too short, or it would leave a bald spot on the head.
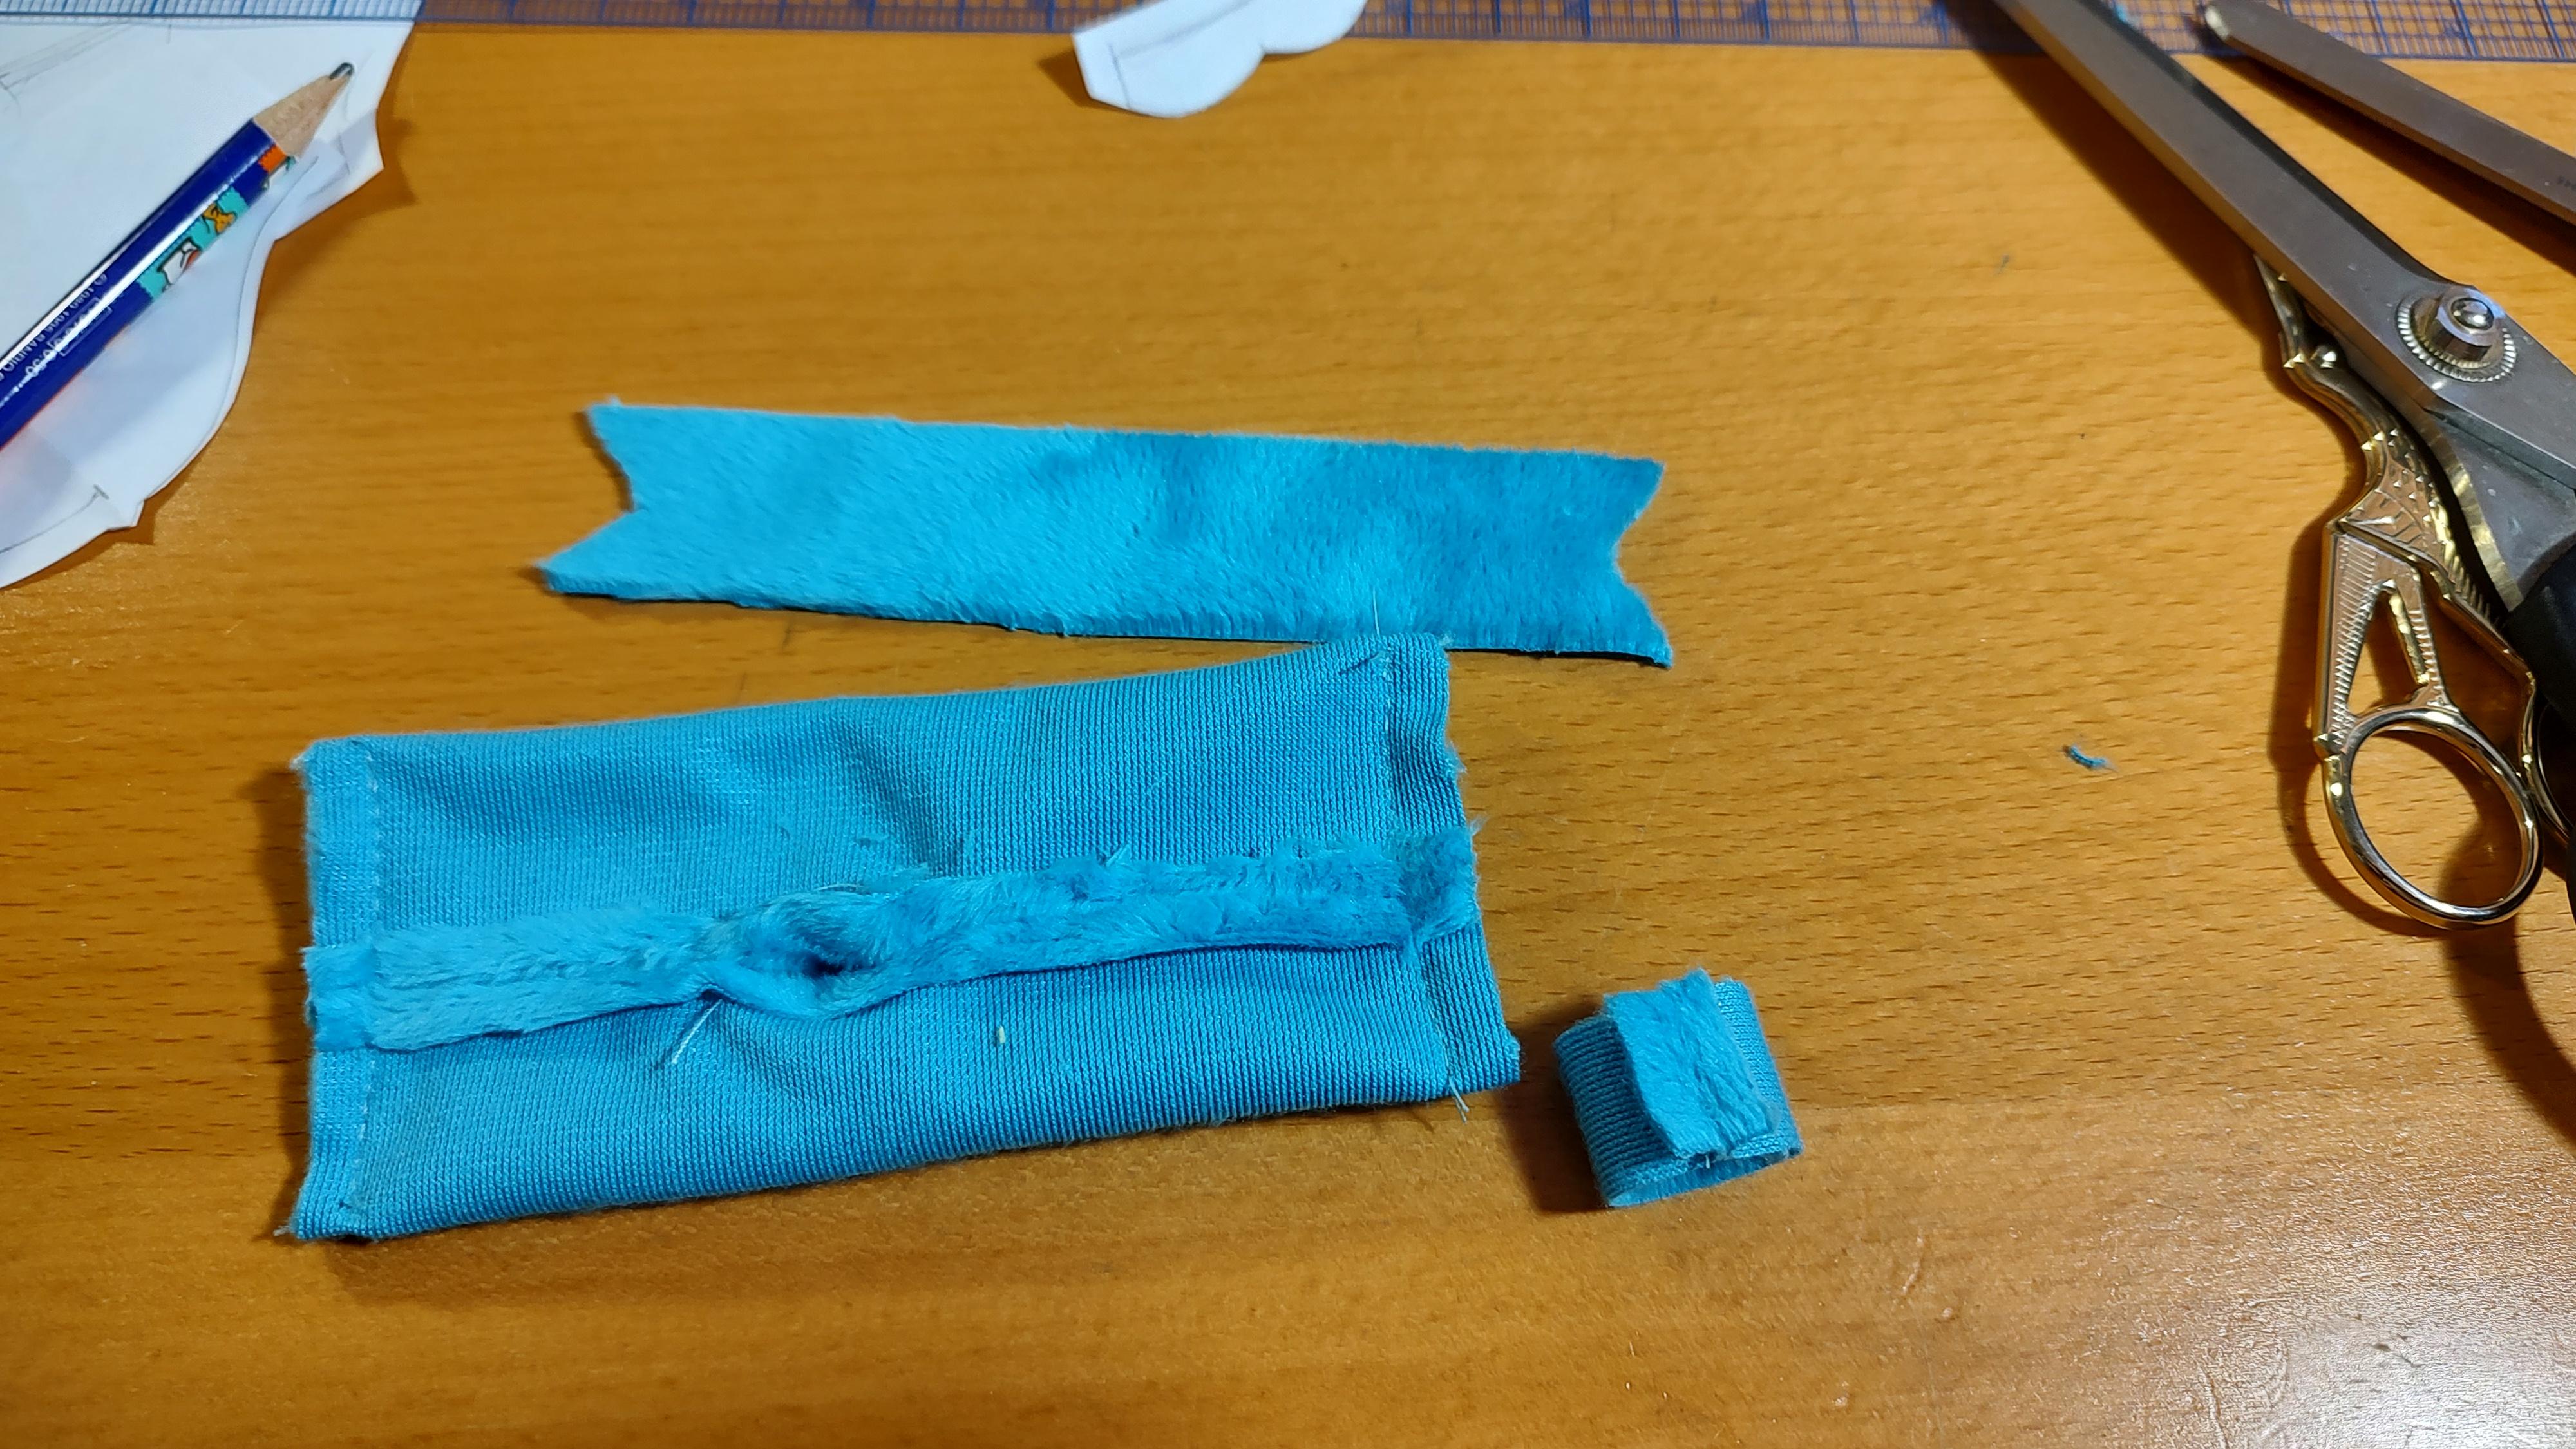
I really like how the bows came out. They're a big sewn rectangle of minky with a separate strip to represent the ends of a ribbon, seemingly bound by a separate loop of minky. But they're actually hand-tacked together in a hidden way.
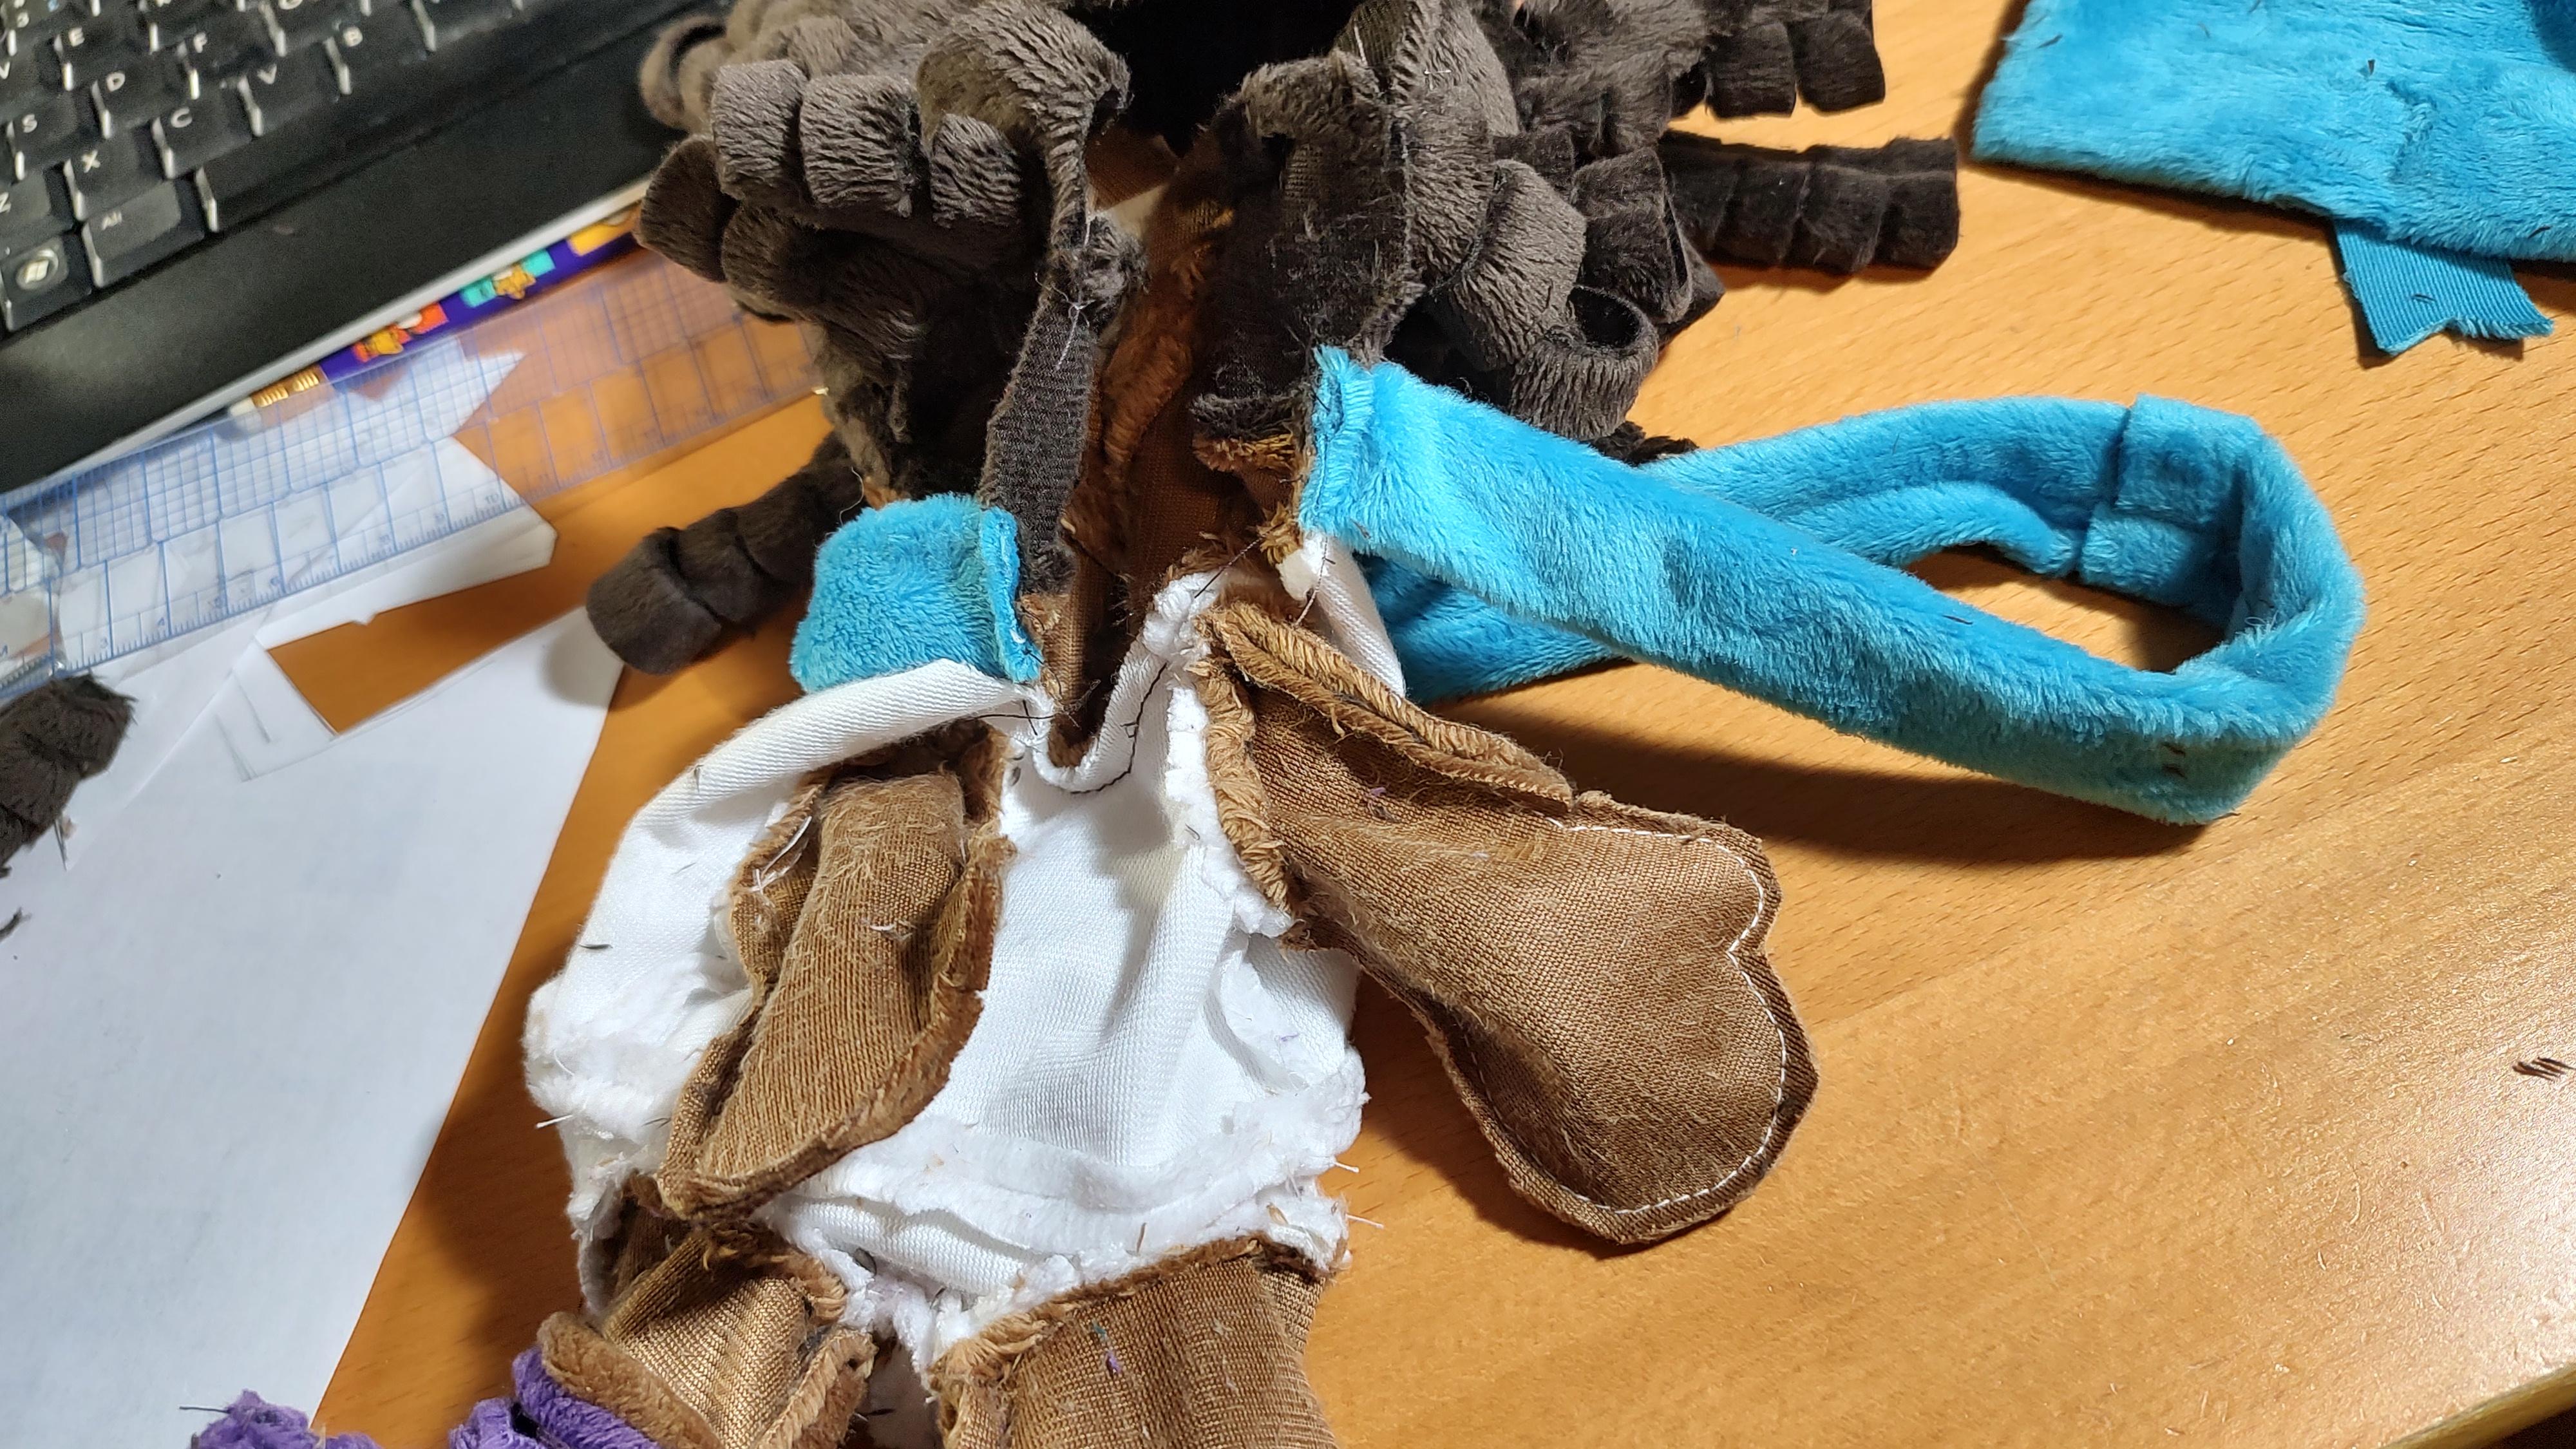
But for the the ribbon around the head, the loop and the headband are actually machine sewn in place at their ends. It's such a simple thing, but its simplicity makes me happy; this makes the headband secure and easy to position perfectly on the head.
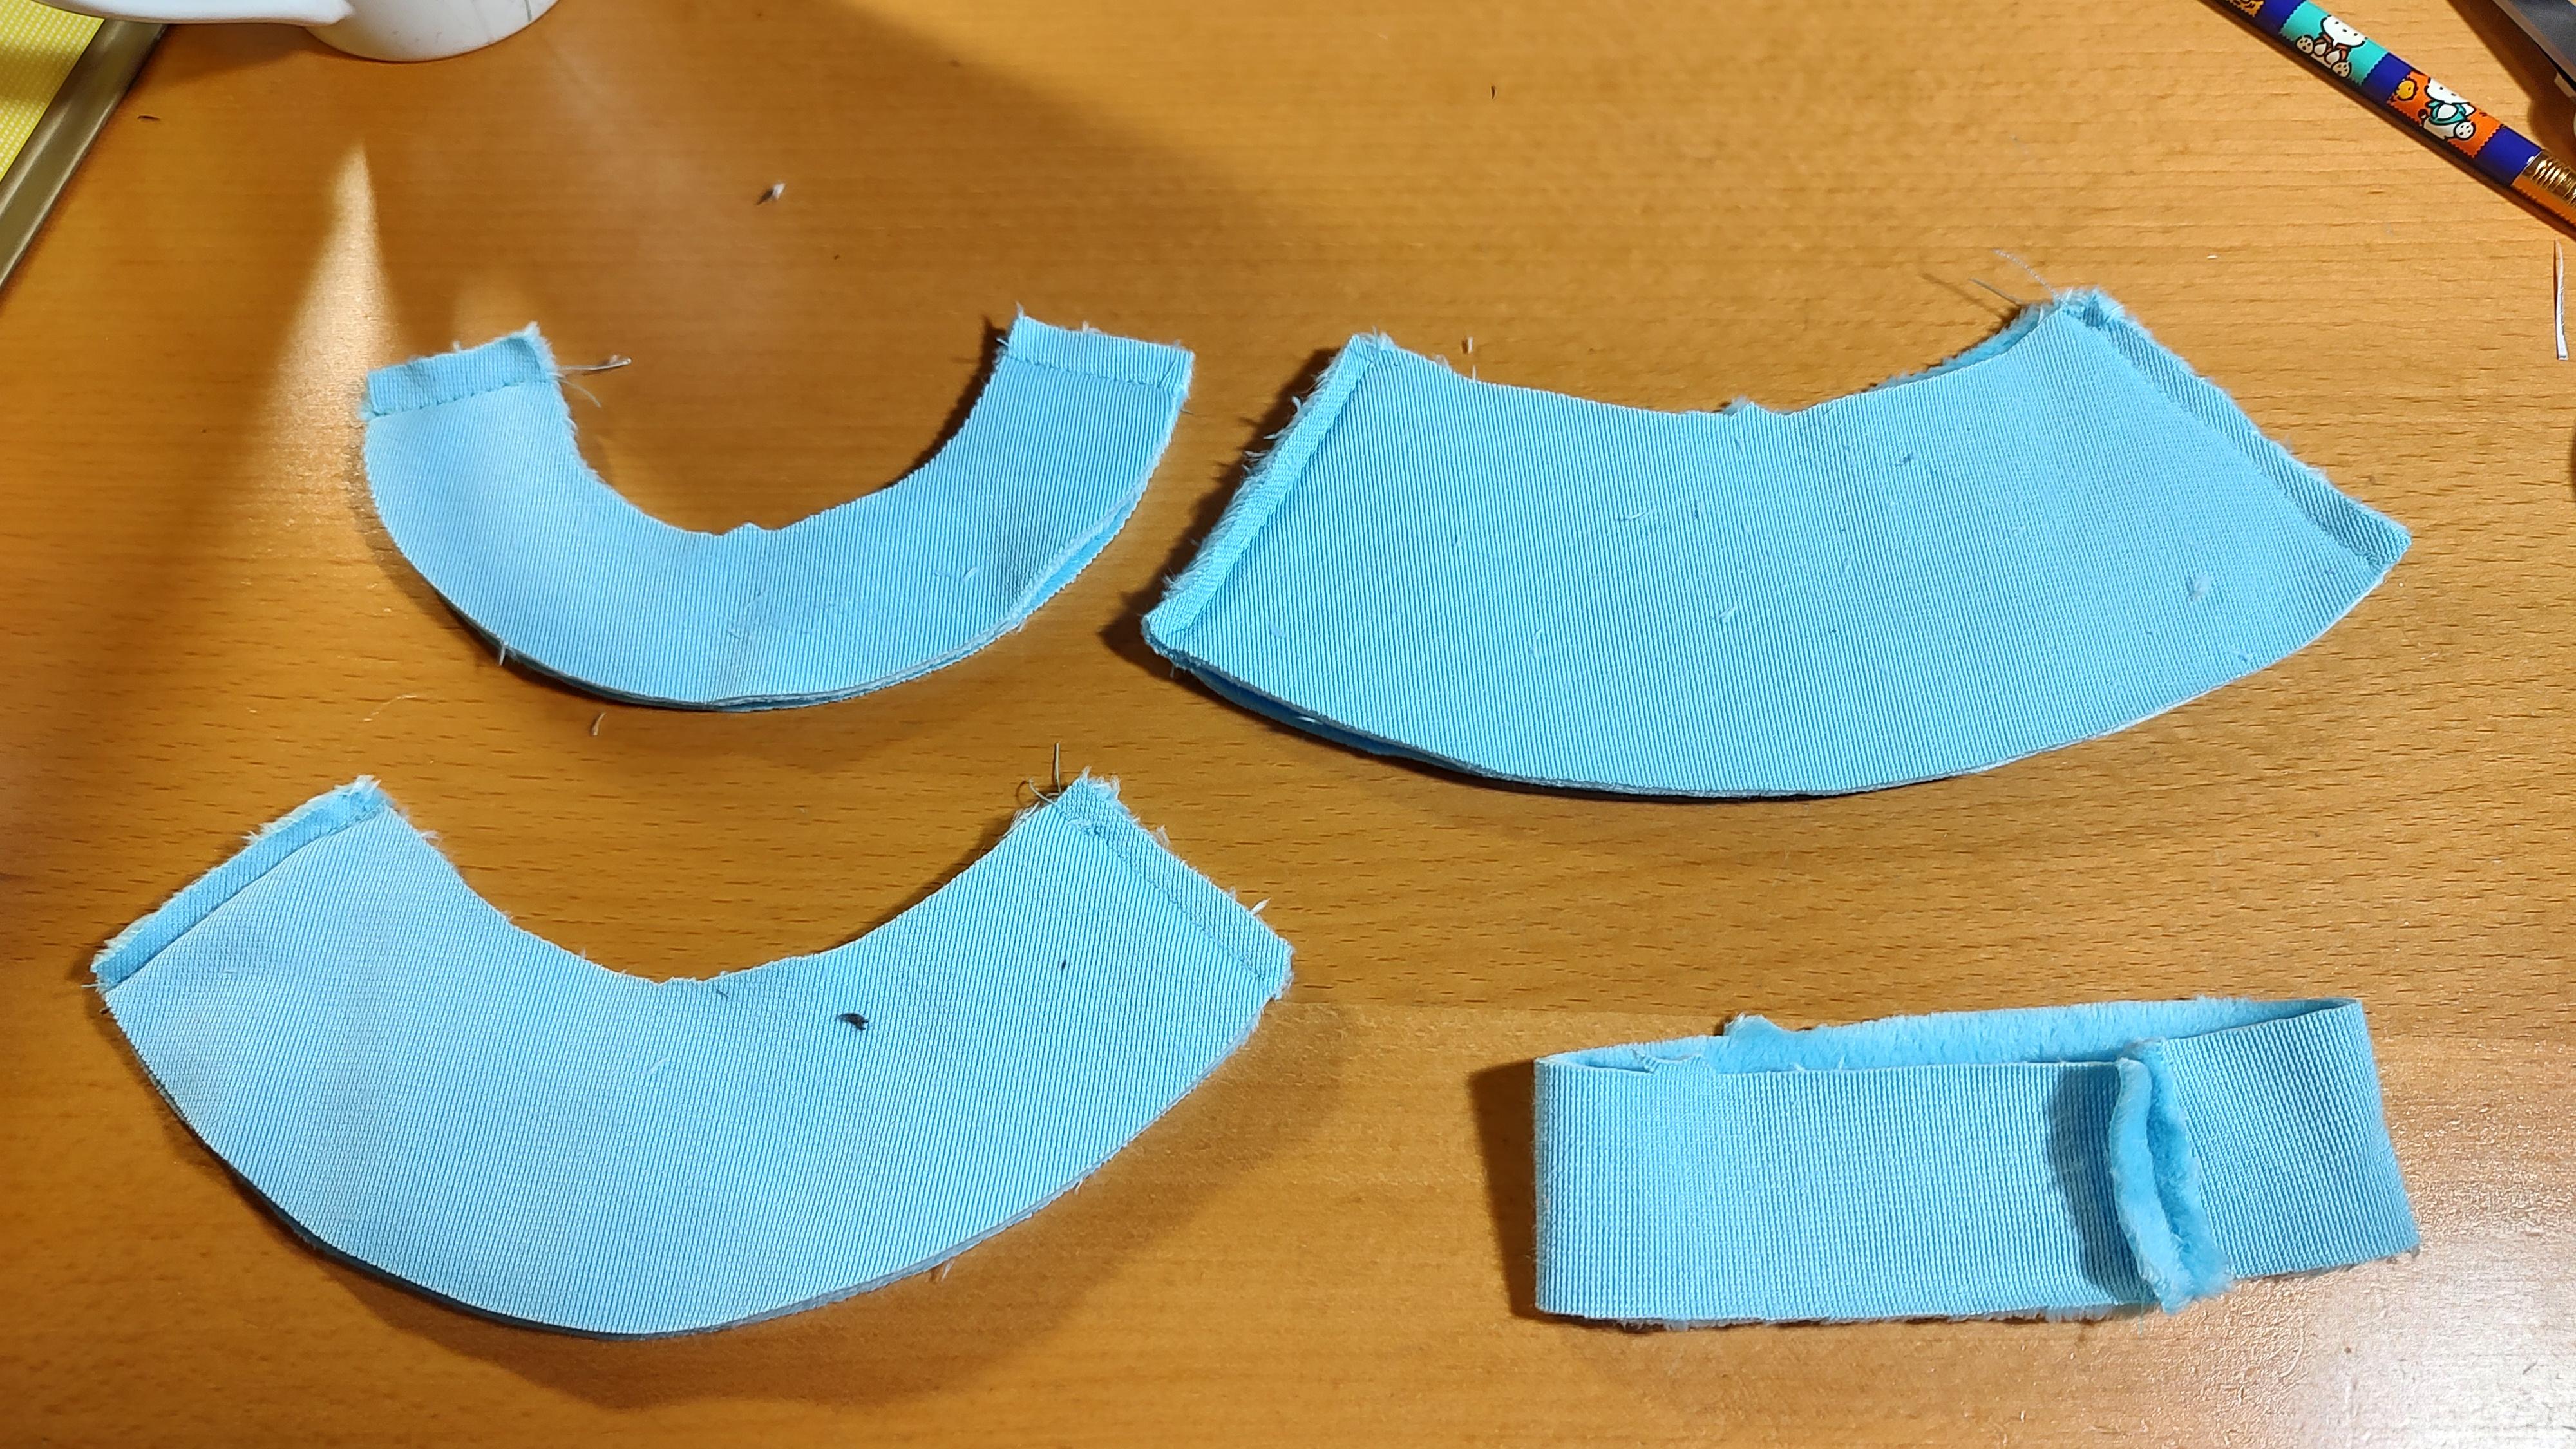
This is pretty basic knowledge for anyone who's constructed/patterned circle skirts before, but the tiers of this skirt illustrate the relationship between the curve of a waistband and the fullness of a skirt. See how the lower tiers have a gentle curve, while the thinner, higher tiers are almost a complete half circle? And yet, if you measure the waistbands, you'll see that their lengths are almost the same.
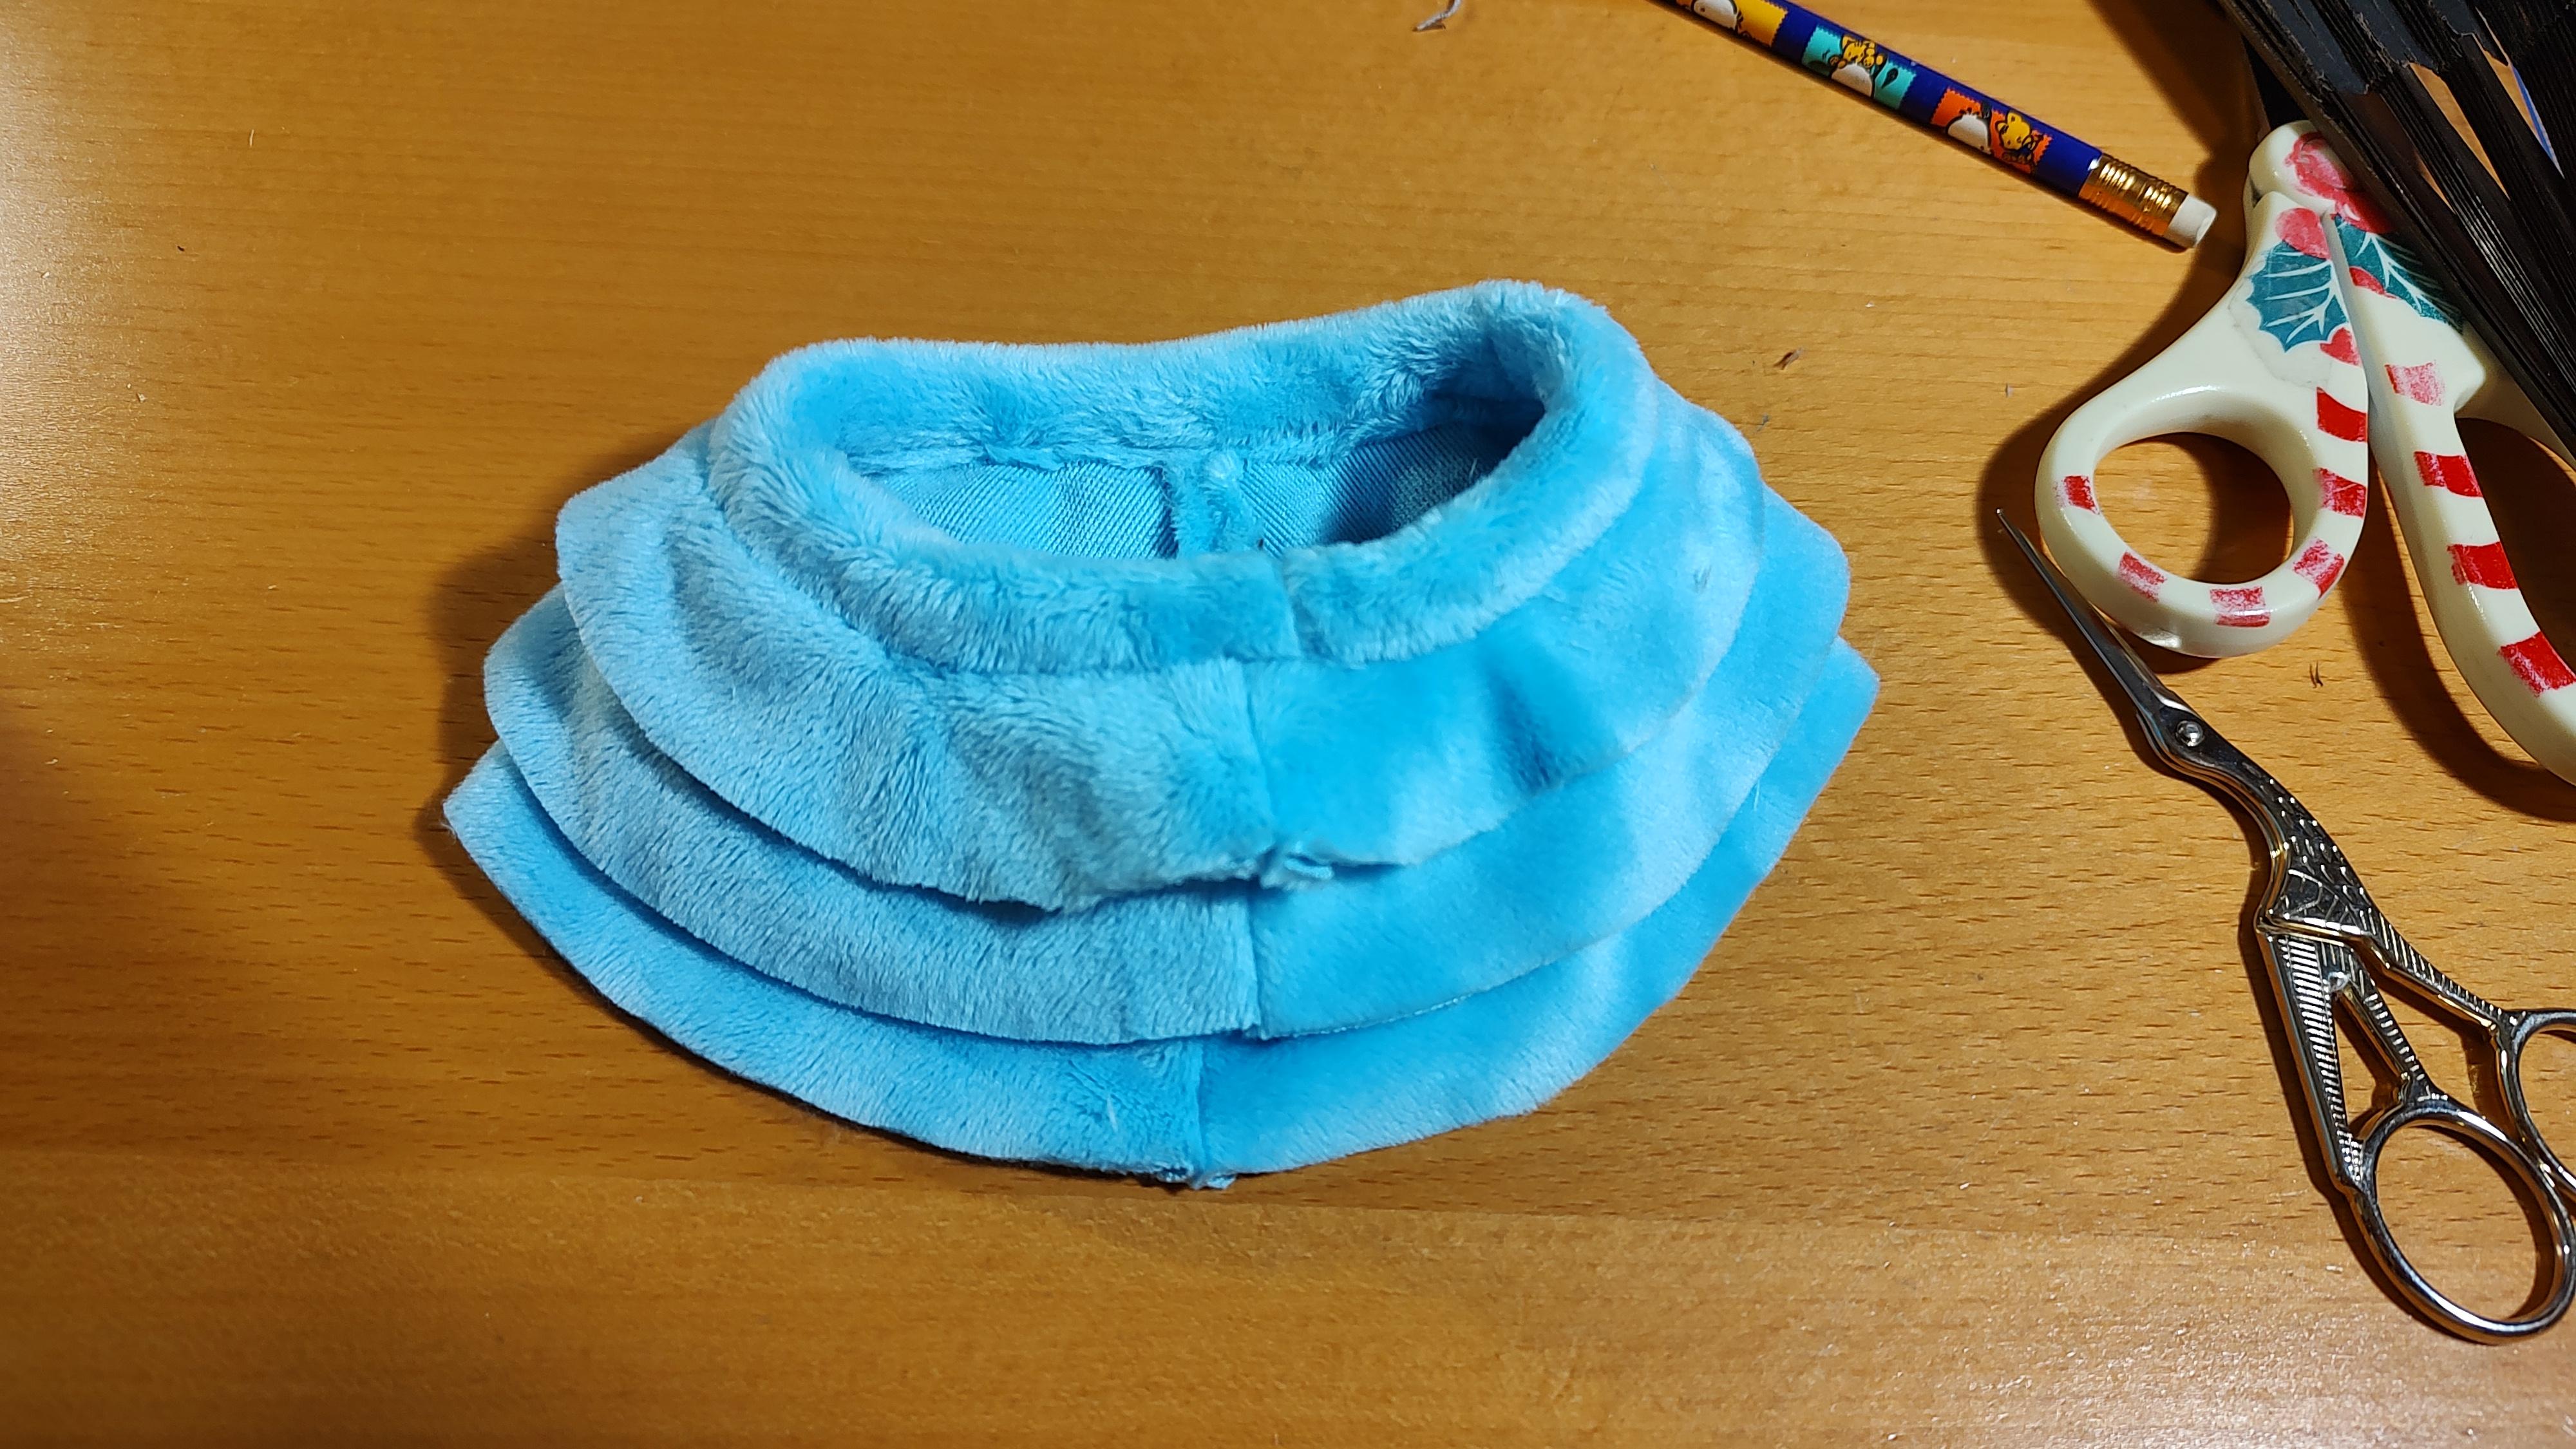
Once the waistbands of all the tiers are bound together, the top tier has the greatest relative material to the length of the waistband, so it ruffles and sticks out the most. Cute!
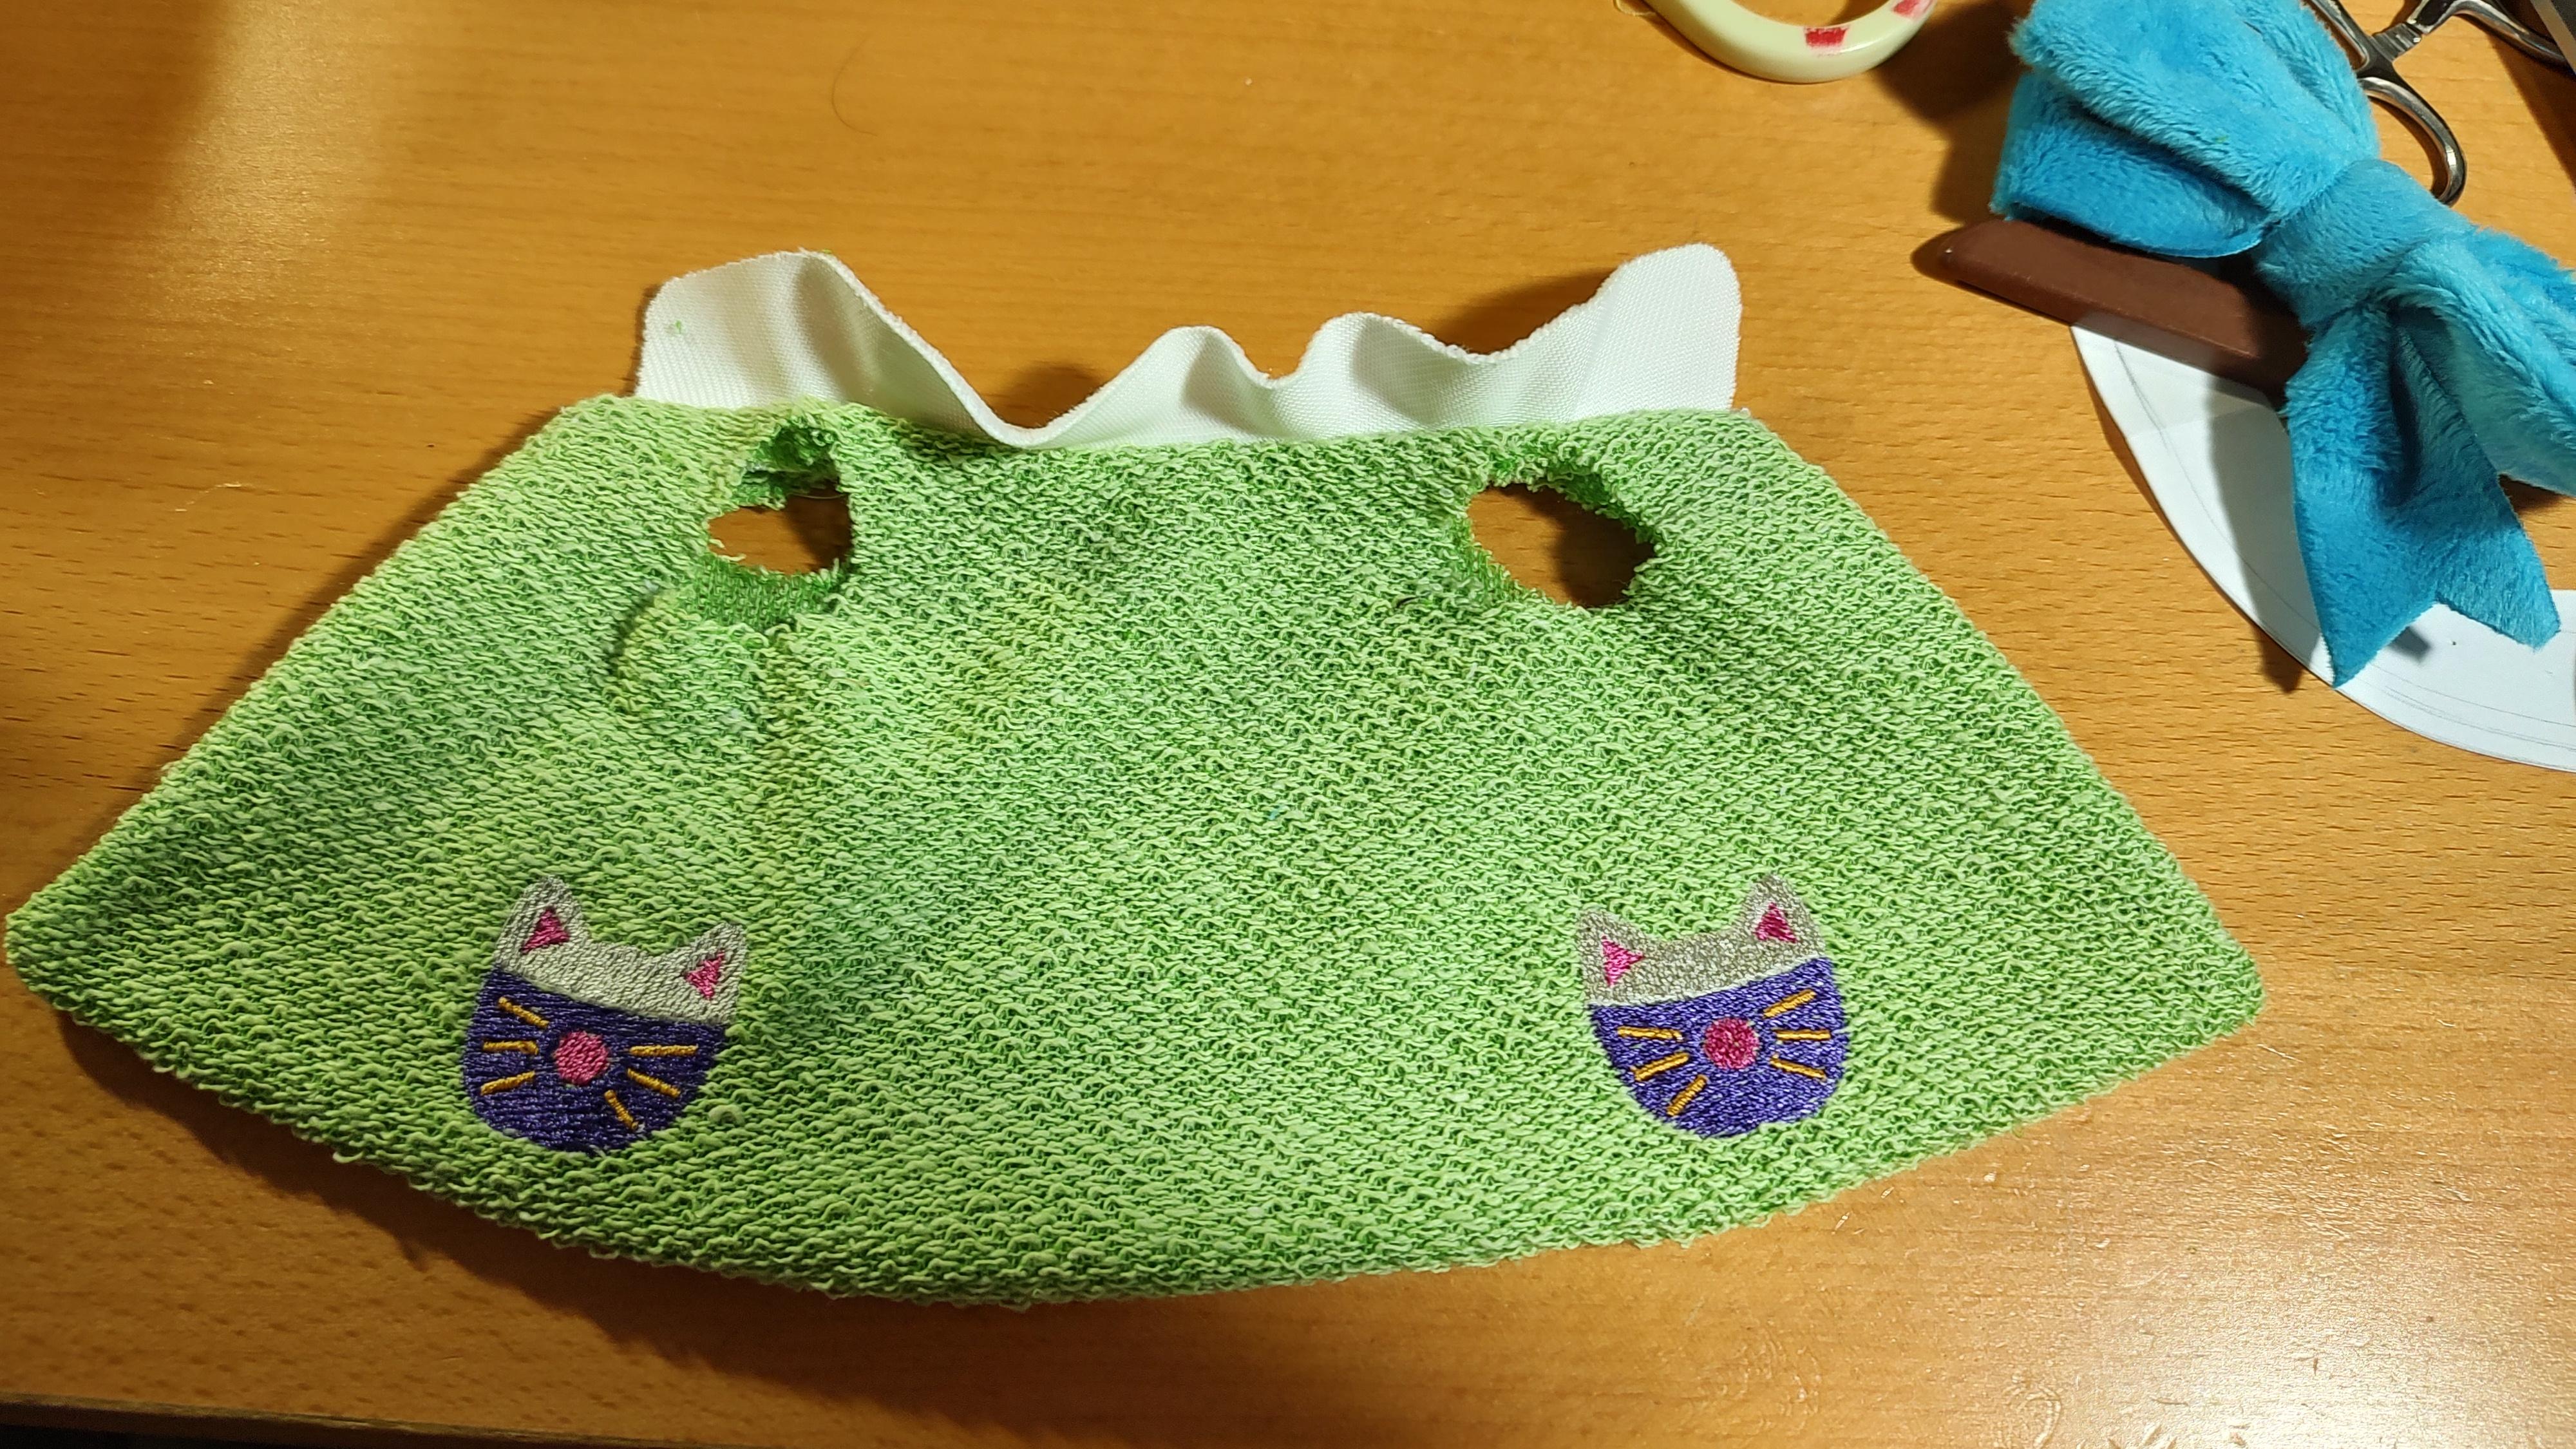
One hiccup with the jacket was that I couldn't put in a side seam because the embroidered pockets were in the way. That made it tricky to install the sleeves, especially such small sleeves and with two jacket layers. There was no trick to doing this. I just did it, with careful, patient coaxing of the sewing machine.
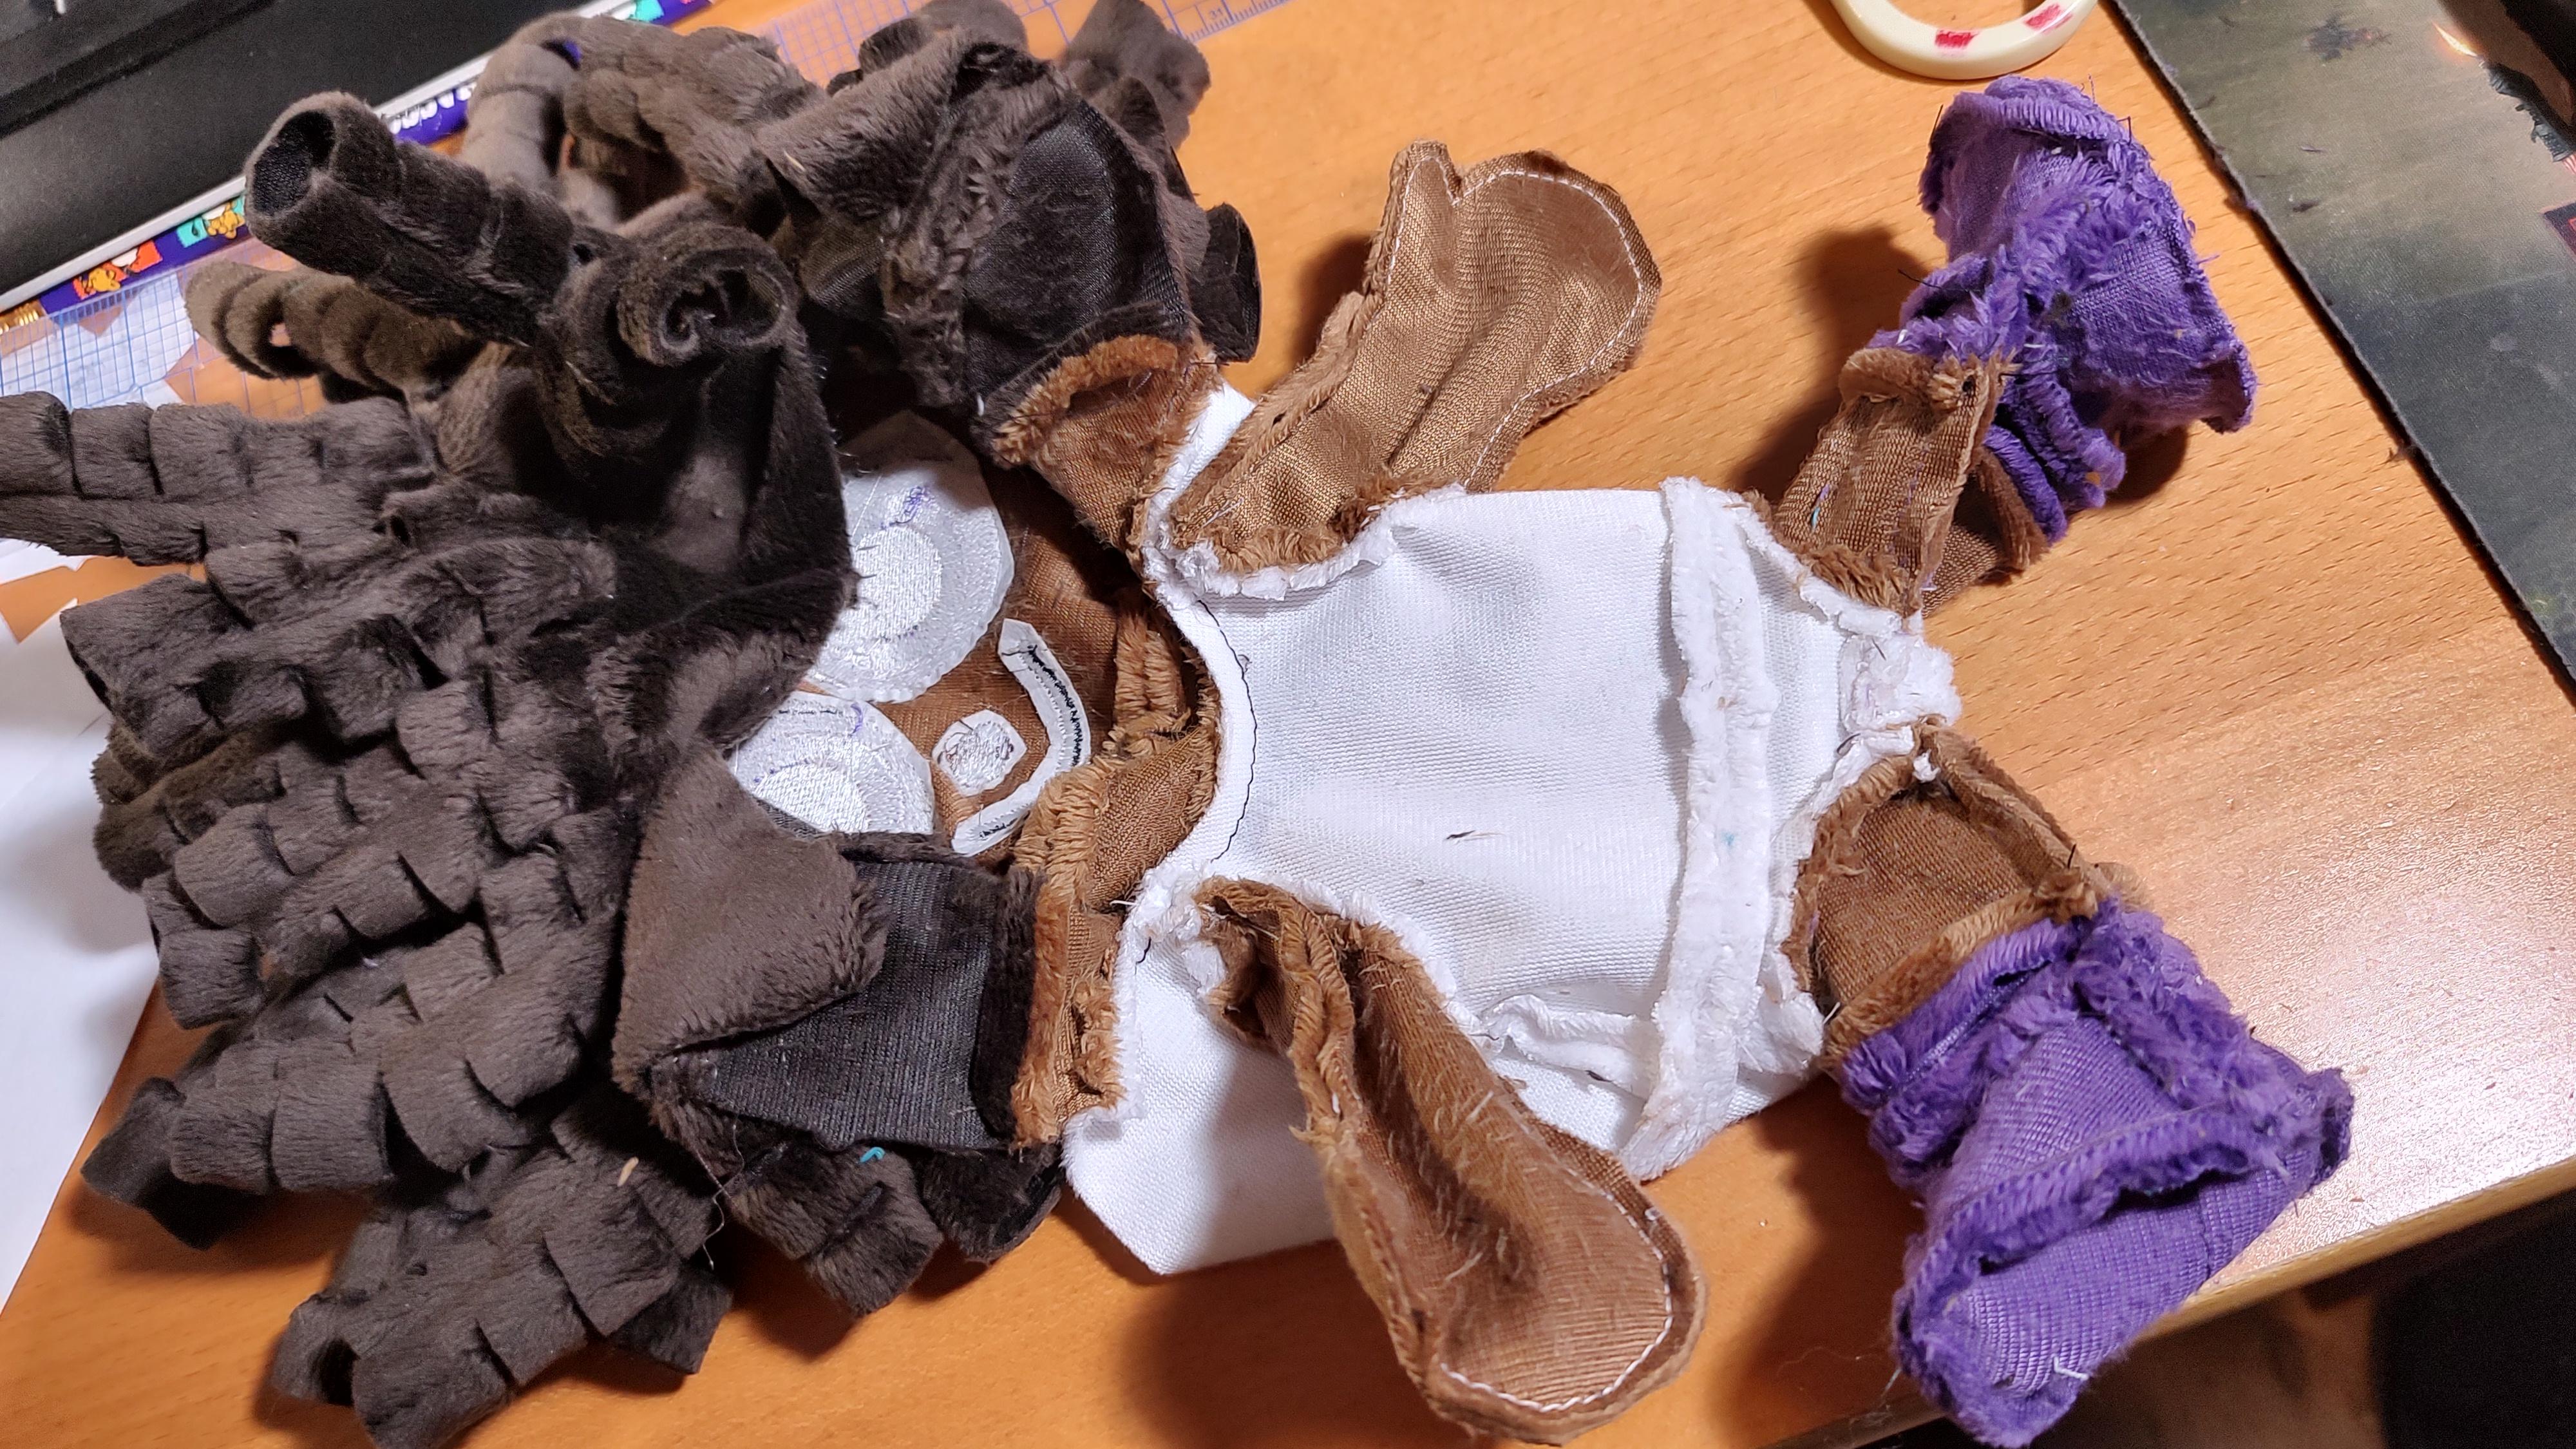
Anyways, I hope you enjoyed reading about these behind-the-scenes insights into the making of Bow Kid. I leave you now with one last in-progress picture.
