Hollow Knight's Knight Plushie Prototype
The Knight, from Hollow Knight, was the first plushie I prototyped for Fangamer. I wanted to do a good job, proving to them and to myself that I could handle the task given to me. At this point in time, I had made plushies and patterns before, but never in a professional capacity. And this arrangement was new for Fangamer as well; they had never worked with someone specifically for prototyping. They had previously relied upon the factory to produce samples, but due to several factors, including a language barrier, that sometimes resulted in prototypes that didn't quite hit the quality they wanted or simply failed to capture the essence of the character.
I didn't even have an embroidery machine yet! The Knight's eyes were appliqued by a careful zigzag stitch on a domestic sewing machine. You can't even tell in these product photos, as it is very hard to see black thread on black fabric.
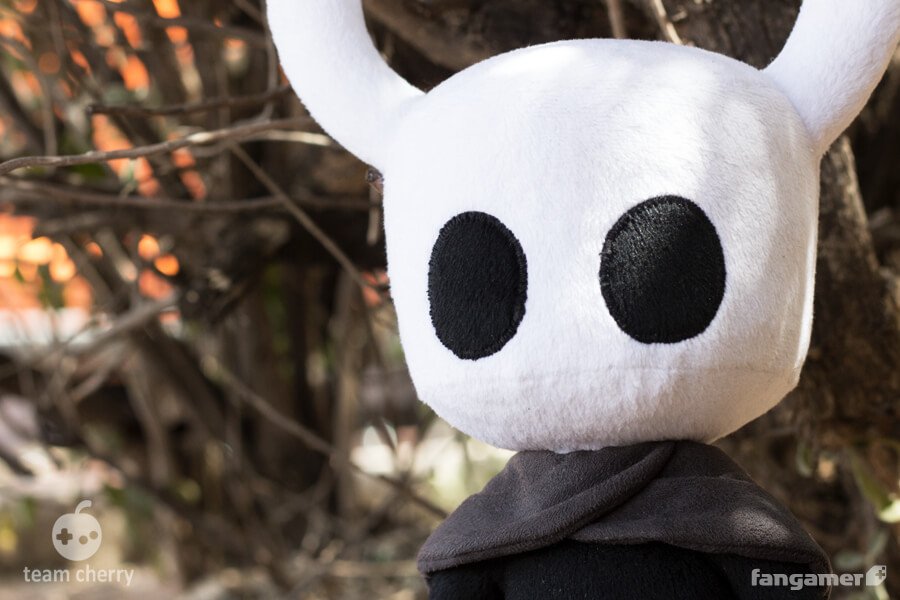
Yeah, I am pretty sure this is my prototype, even though this is a product photo. Which is something Fangamer has since learned: do not use prototypes as product photos without labelling them as prototypes. Because inevitably the plushie that gets into people's hands is going to be different and they are going to complain. Factory plushies tend to have rounded tips rather than sharp ones, their method of stuffing stretches out the fabric more, and in this case, the horns splay outwards more than they are supposed to. It's not a big deal, but more accurate photos allow the customer to know what they are getting. Here's a pic of the final factory plushie for comparison.
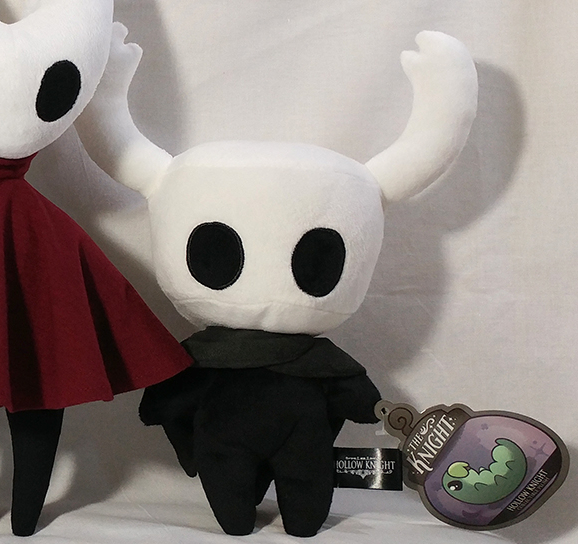
When I start patterning a plushie, I break it down into individual elements and tackle each part separately. The Knight can be thought of as horns, head, body, and cape. Simple...? Nope, no matter how simple a plushie seems, there is always something that challenges me. Take these horns for example. Something that is unintuitive about making curved shapes in plushies is that, while the curve looks good on the paper pattern, once stuffed into a 3D object, the curve becomes more pronounced. Like in this early sample, the horn is almost pointing downwards.

The head is simple enough I guess—just a cylinder, which is basically two circles for the top and bottom and a rectangular strip for the sides. I divided that rectangular strip into two rectangular strips. Adding seams on the sides, right under where the horns are to be placed, allows the horns to be attached by machine during construction.

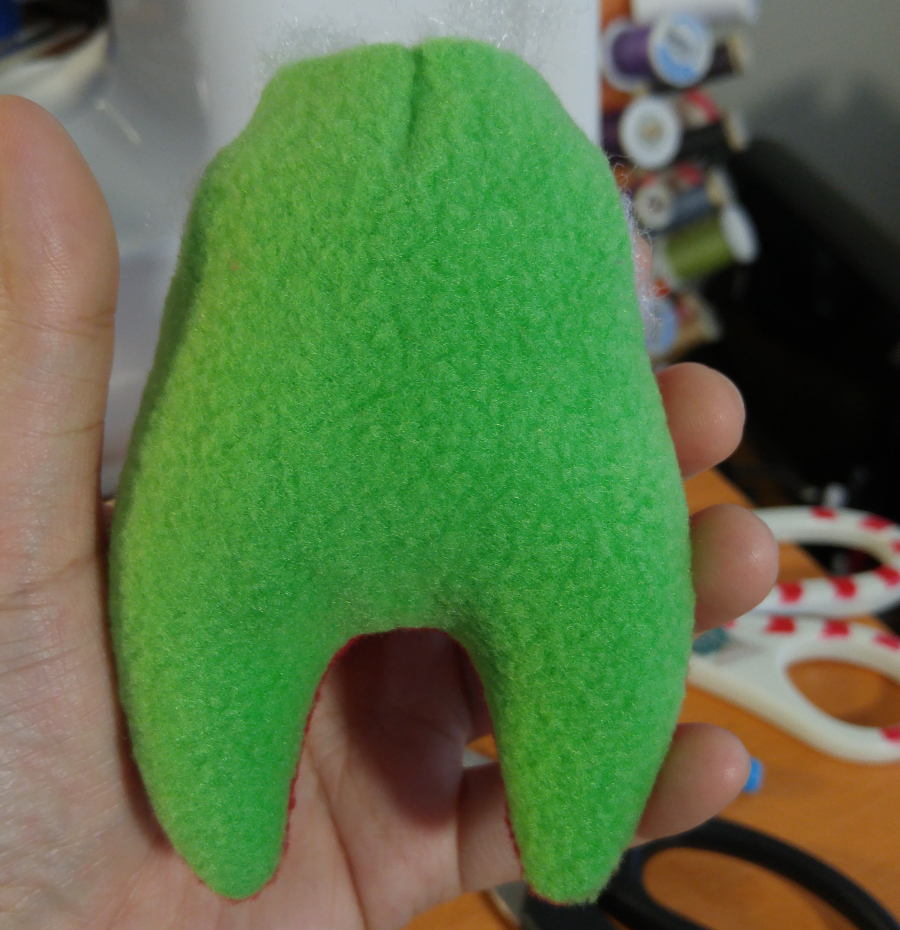
The body has a bit of shaping to it. A dart on the neck narrows the body as it approaches the head, a dart at the crotch allows the tummy to jut outwards, and the arms are essentially little cones that are separately connected.
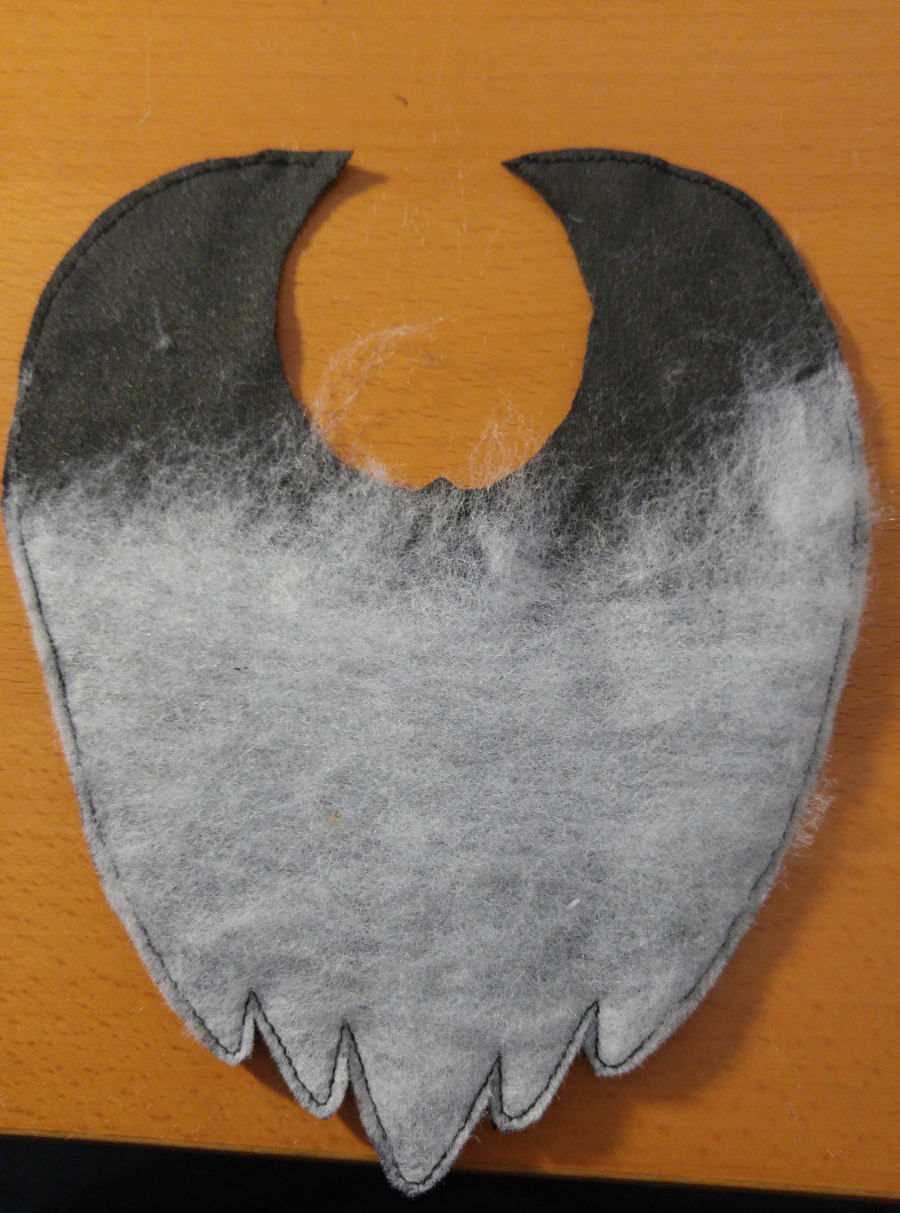
The cape was interesting in that they wanted it to puff out a bit between the lines of topstitching. So I put a layer of batting between the fabric, which would make a bit of loft when stitched down. (Batting is a fluffy, loosely matted sheet of material that is usually used inside quilts, which gives them their bulk and warmth.) But I tore away the batting gradually as I reached the top of the cape. I didn't want the heavy material to interfere with the way the cape joins the body and head. I'm not sure if the manufacturers took that extra step in their final products though.
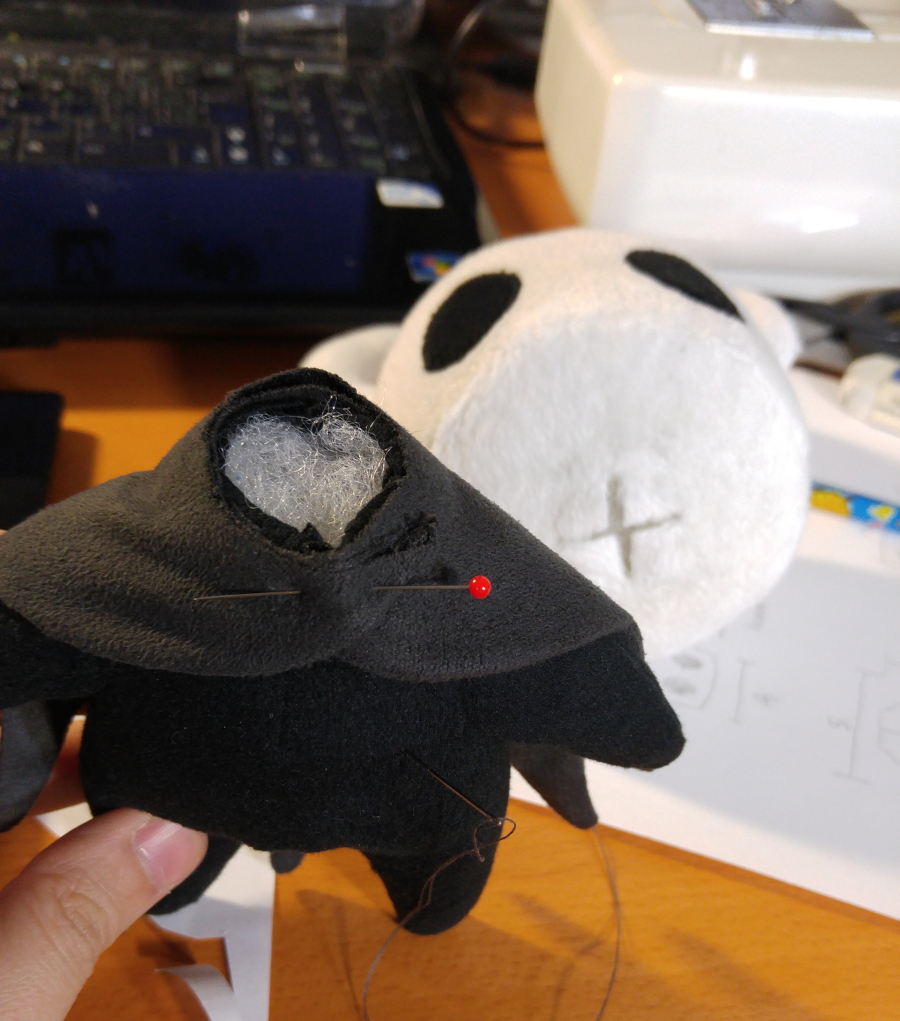
As for attaching the head and body, the way I used to do it is by hand sewing. The advantage of doing that is the hand-sewn seam is hidden in the crevice of the neck and I can have greater control of the angle of the head. But when I saw that the manufacturers moved the stuffing hole to the back of the head, I changed my ways. I learned that excess hand sewing is usually not favored by the factory, possibly because it is slower and less accurate than machine sewing. And it forced me to get better at positioning body parts using machine and become less reliant on hand sewing.
I guess I did a good job for my first prototype! I've made all of Fangamer's subsequent Hollow Knight plushies and over fifty prototypes later, I'm still learning from the process.
